Every morning a potential customer opens their phone and enters a world of countless choices. Visibility matters – and once you have someone’s attention, trust is what keeps them. One simple, powerful tactic to increase local visibility and create an immediate call-to-action is using events on your Google Business Profile. That leads many owners to ask: How do I add an event to my Google Business Profile? We’ll answer that clearly in a moment, but first let’s place that action inside a bigger strategy of building a visible, trustworthy brand online.
Why visibility and trust matter for local searches
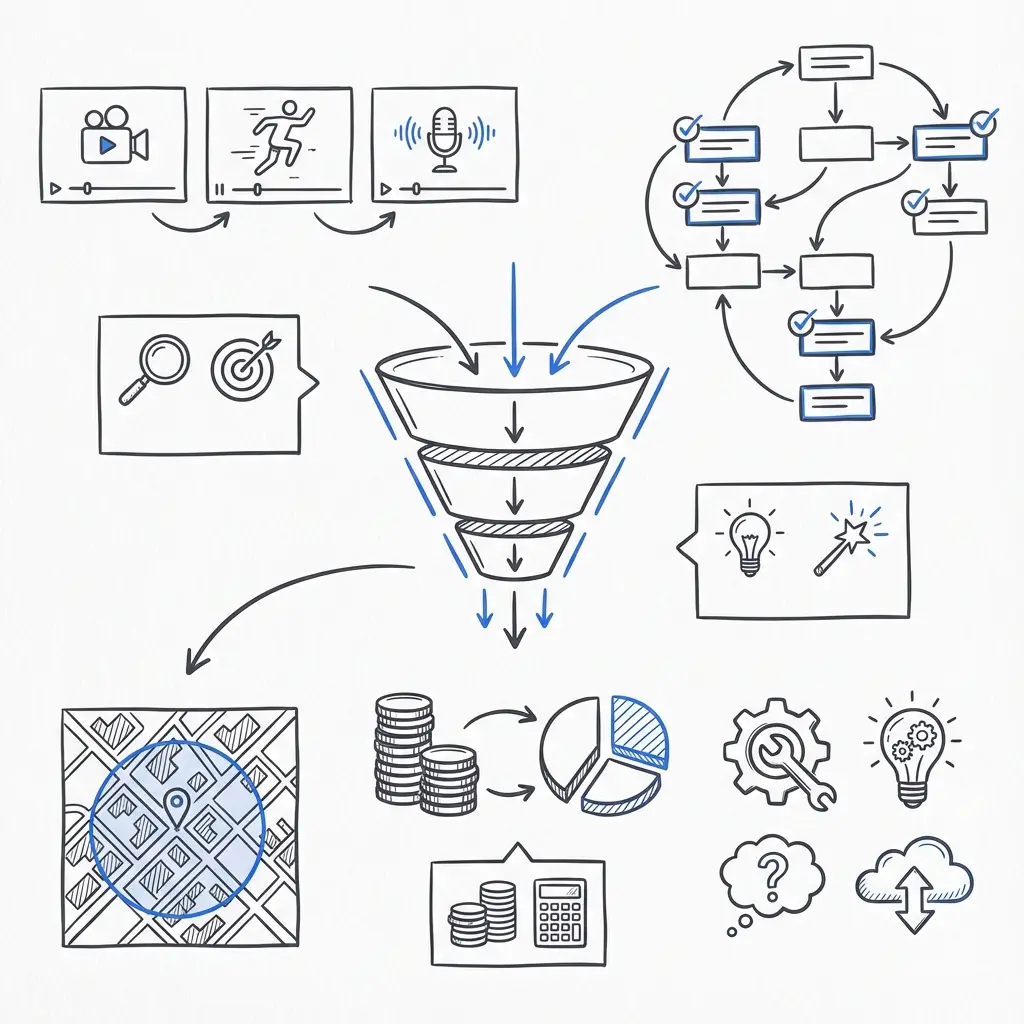
Visibility gets the foot in the door; trust keeps the door open. When a customer searches locally, they often choose from a short list. The business that looks credible, responsive, and human tends to win. Small signals—clear messaging, up-to-date contact details, helpful content, genuine photos, and timely replies—stack to form credibility.
Events as a visibility tool
Adding events to your Google Business Profile is a low-friction way to surface offers, workshops, pop-ups, menu changes, or seasonal hours directly in search results and Maps. Events show dates, times, and short details right where customers are actively choosing. That means an event can act like a bright chalkboard in your virtual shop window.

If you want a quick, tactical review of your public pages and listings, consider a short consult — you can talk to Agency VISIBLE for a focused audit and simple next steps that often lead to faster, measurable results.
How do I add an event to my Google Business Profile? Let’s answer that now with a clear, step-by-step guide you can follow in under 15 minutes. But remember: events are most effective when they fit a coherent story about what you offer and why people should show up.
Get a quick visibility audit and simple next steps
Ready to make your business easier to find and trust? Book a short review with a visible-focused team to discover the few changes that will move the needle. Get in touch with Agency VISIBLE to start.
Start with a small, low-risk event that highlights what you already do well — for example, a one-hour tasting, demo, or limited-time discount day. Make the title and description clear, include a link to reserve or RSVP, add a real photo of your space or product, and promote it to your email list and on social; this short loop often converts curious searchers into visits.
Step-by-step: Add an event to your Google Business Profile
Below is a practical sequence you can follow. The UI for Google Business Profile (also called Google Business or Google Business Profile Manager) changes occasionally, but the basic steps remain the same – see Google’s official guidance for posts Create & manage posts on your Business Profile and for additional how-to tips check this practical guide How to add events to Google My Business.
1. Sign in to your Google Business Profile
Open Google Business Profile at business.google.com and sign in with the Google account that manages your business listing. If multiple people manage the account, confirm you have the correct access level (owner or manager).
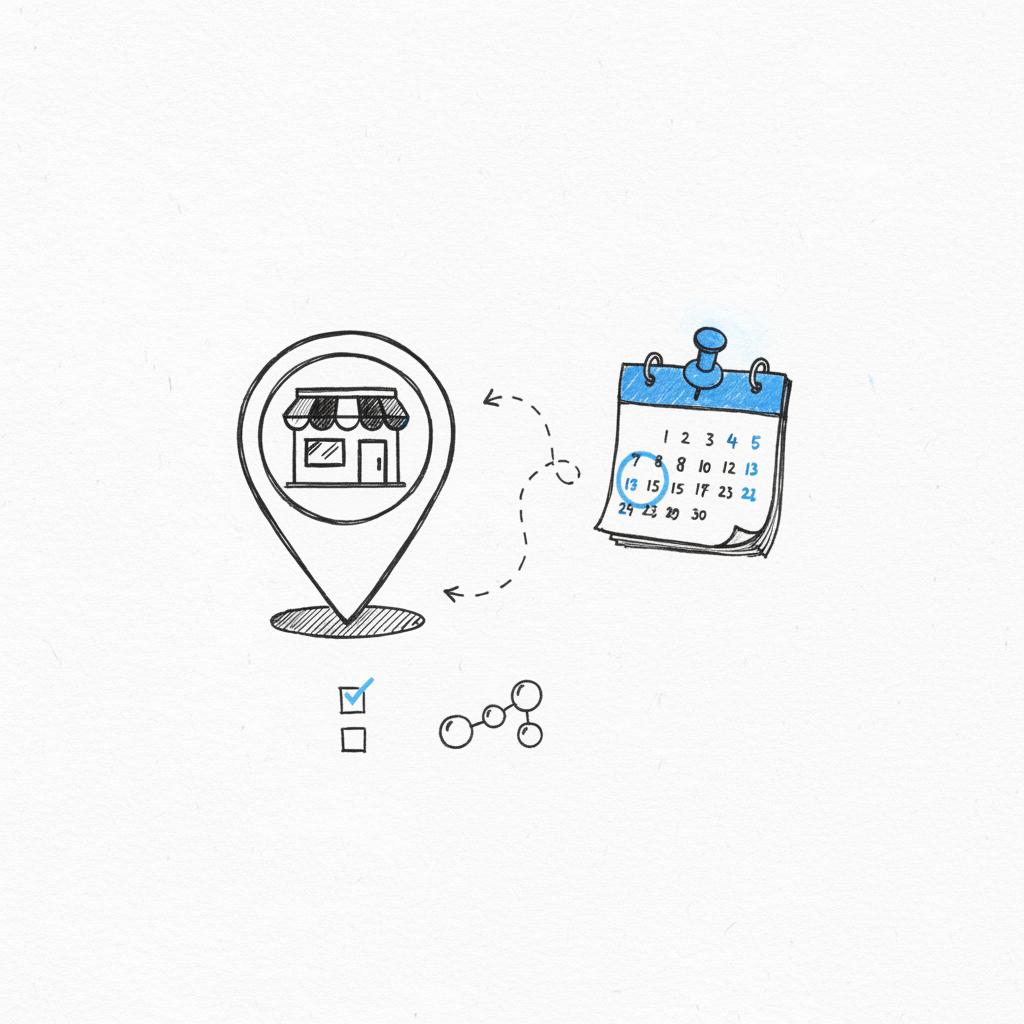
2. Choose the location
If your business has one location, select it. For multi-location businesses, make sure you pick the exact location where the event will occur. Events are location-specific and should only be published where they happen.
3. Create a Post and choose “Event”
Within your profile dashboard, find the section to create a new post. Google offers several post types: Update, Offer, and Event are common. Select Event. Event posts are flagged for date/time and show differently in search results than a simple update. For a quick video walkthrough, this guide can help: How to Add a Post to Your Google Business Profile (2025).
4. Add a descriptive title and useful details
Write a short, clear event title (for example: Monday Sourdough Tasting). In the description, answer the practical questions users have: what will happen, who should come, whether booking is required, and any cost. Use plain language—avoid jargon.
5. Set start and end dates and times
Be precise. If an event repeats weekly or monthly, consider whether to create a single recurring event (if the dashboard supports recurrence) or post separate event entries for each date. For limited-capacity events, state the window for signup and the cutoff date for registration.
6. Add a link for RSVPs or ticketing
Use a direct booking or RSVP link if possible—this could be an order form, an events page, or a ticketing link. If you don’t have a booking system, a link to a contact form or a phone number is fine. The easier the action, the higher the conversion.
7. Include an image that communicates the offer
Use a clean, well-lit photo that illustrates the event: a product display, a workshop setup, or a simple graphic of the date and place. Real photos of your space perform better than generic stock images. Google recommends 400 x 300 px minimum for posts, but higher-resolution, landscape images typically display best.
8. Publish and monitor
Once published, the event should appear on your Business Profile in Search and Maps. Monitor clicks, calls, and traffic. If an event doesn’t draw attention, adjust the description or image and repromote it nearby the date.
Practical examples of events that work
Events don’t have to be big. Here are bite-sized ideas that often convert local interest into visits:
- Product drop or menu change announcement
- Free tasting or demo hour
- Workshop or short class (e.g., “30-minute floral arranging”)
- Clearance sale with specified dates
- Pop-up collaboration with a local vendor
How adding events fits into a broader visibility strategy
Events are a traffic driver and a trust builder when they’re genuine and useful. But they work best when combined with other fundamentals: a clear website, consistent contact details, helpful content, and good reviews. Think of events as a dynamic piece of your ongoing content strategy—short-lived but attention-grabbing posts that direct people to a longer-lasting story about your brand.
Clarity first
Before you publish events, be sure your core messaging is clear. Who are you for? What concrete result do you deliver? If your event listing doesn’t make that obvious quickly, viewers will scroll on.
Consistency and coherence
Make sure the tone and visual style of event posts match your site and social channels. Consistency signals professionalism and helps people feel they are interacting with a stable, reliable business.
When you look for a partner, prefer teams who listen and ask clear questions. A good collaborator helps you clarify what matters rather than impose a template that doesn’t fit your business. You can review examples of our work in our projects. A clear logo makes your listings easier to recognize in search results.
Content and social proof that amplify events
Pair an event post with an article, a social post, or an email that gives extra context. A short pre-event article answering the most likely questions reduces friction and increases bookings. After the event, publish a recap with photos and testimonials. This creates social proof and helps future events perform better.
Ask for reviews at natural moments
After an event, ask attendees for feedback and reviews. A short review that highlights a tangible outcome—what they learned, what they bought, or how the experience felt—carries weight. Display a few strong quotes in follow-up posts.
Local presence and real-world signals
Google rewards completeness. Make sure your Name, Address, Phone number (NAP), hours, and category are consistent across all directories. If your event requires special hours, make sure to update your profile so customers don’t arrive confused. Local searches often prefer a complete, active profile.
Measure impact the smart way
Track simple, meaningful metrics: event clicks, direction requests, calls, bookings and attendance. Compare the channel that drove the most signups (search, social, email) and invest more in the highest-performing approach. Avoid getting lost in likes and impressions alone—focus on actions that show intent.
Common pitfalls when posting events (and how to avoid them)
Here are mistakes we see often and how to prevent them:
1. Vague titles and descriptions
Fix: Use clear, benefit-driven language. Replace “Special Event” with “Free Coffee Tasting – Try Our New Roast.”
2. No booking link or unclear CTA
Fix: Always include a clear next step—RSVP, book, call, or walk-in. Make the action frictionless.
3. Old or inconsistent hours
Fix: Update hours and temporary closures before posting event details. If you add a holiday event, mark the special hours so Google shows accurate info.
Practical roadmap you can follow in four weeks
Week 1: Clarify one-sentence offer, update key pages (homepage, contact), and fix NAP across directories. Post a first event for something small that can be prepared fast.
Week 2: Write and publish one helpful article that addresses a common customer question. Share it via email and social. Add an illustrative photo to your GBP post.
Week 3: Ask three satisfied customers for short testimonials and post them publicly. Monitor how event signups came in.
Week 4: Measure results and double down on what worked. If search brought the most attendees, invest in more local SEO-friendly content and repeat events with minor improvements.
A small case vignette
A local baker with a thin one-page listing added a weekly “Saturday morning sourdough tasting” as a Google Business Profile event. She posted a short description, a link to a simple reservation form, and photos of the kitchen. She promoted the event in an email to existing customers. Within a few weeks, weekend bookings increased and the shop’s calendar filled. The event gave a clear reason to visit and a low-friction path to reserve a slot.
When to ask for help
Some tasks are simple: update hours, add a good photo, publish an event. Other needs—like redesigning your website, refining a brand voice, or launching a sustained content program—often benefit from experienced help.
Advanced tips: getting more from events
1. Use targeted email invites to loyal customers for early signups.
2. Create urgency with limited seats or early-bird pricing.
3. Cross-promote with a nearby business to reach a wider local audience.
4. Tag event posts with the right categories and keywords (e.g., “tasting”, “workshop”, “sale”) to help searchers find them.
People prefer realness. Use photos that show actual products, hands at work, and your space. Choose a voice in your event copy that you can maintain: warm and straightforward often works best. A consistent visual and tonal approach builds trust.

Pricing and expectations
If an event has a cost, be transparent. If the price varies based on selections, provide ranges and explain what affects the final price. Make the registration and refund policy clear to reduce cancellations and confusion.
Speed and reliability
Respond quickly to event inquiries. If you promise a reply within one business day, keep that promise. Reliable follow-through converts interest into trust and repeat business.
Three small technical notes
1. Character limits: Google event posts have limited characters—lead with the most important details. 2. Photos: upload landscape images where possible. 3. Links: use direct links to the page that completes the desired action (RSVP, buy ticket, book table).
Measuring progress without obsession
Focus on a handful of meaningful metrics: number of RSVPs, attendance rate, calls driven by the event, and revenue generated. Track the source of attendees so you can repeat what works.
Common FAQs
How long until I see results? Immediate improvements in calls or visits can appear after fixing obvious listing issues or posting a highly relevant event. Broader recognition from content and steady activity usually takes months.
Should I show pricing on event posts? Yes: transparency reduces friction. If pricing is complex, provide ranges and a clear explanation.
What about negative feedback after an event? Respond with care, acknowledge the issue, and offer a private channel to resolve it. A thoughtful response can demonstrate responsibility and care.
Final practical checklist
- Update NAP and hours across all platforms.
- Create an event post with a clear title, dates, an action link, and a real photo.
- Promote via email and social at least one week before the event.
- Collect feedback and reviews after the event.
- Measure and iterate.
Key takeaways
Events on your Google Business Profile are a practical, low-cost way to increase local visibility and give people a specific reason to visit. But they’re most effective as one part of a larger system: clear messaging, consistent visuals, useful content, and reliable follow-through. Taken together, these elements build real trust so customers choose you more often.
Need a quick, practical review of your online presence? A short audit often reveals three or four high-impact changes you can implement this week.
You can see immediate effects in calls and direction requests shortly after posting a well-promoted event. Deeper, sustained improvements — such as stronger local search visibility and repeat customers — usually develop over weeks to months as you publish consistent events and supporting content.
If the platform supports recurrence and your event truly repeats the same way each time, recurring events save time. If details vary by date (different topics, different guests, limited seats), create individual posts so each entry can be optimized and tracked separately.
Yes — Agency VISIBLE offers focused audits and practical guidance to improve your local listings, event postings, and visible pages. If you’d like a short review to identify three high-impact changes, you can <a href="https://agencyvisible.com/contact/">contact Agency VISIBLE</a> for a friendly consult.