How to approach the steps to design a website: a friendly roadmap
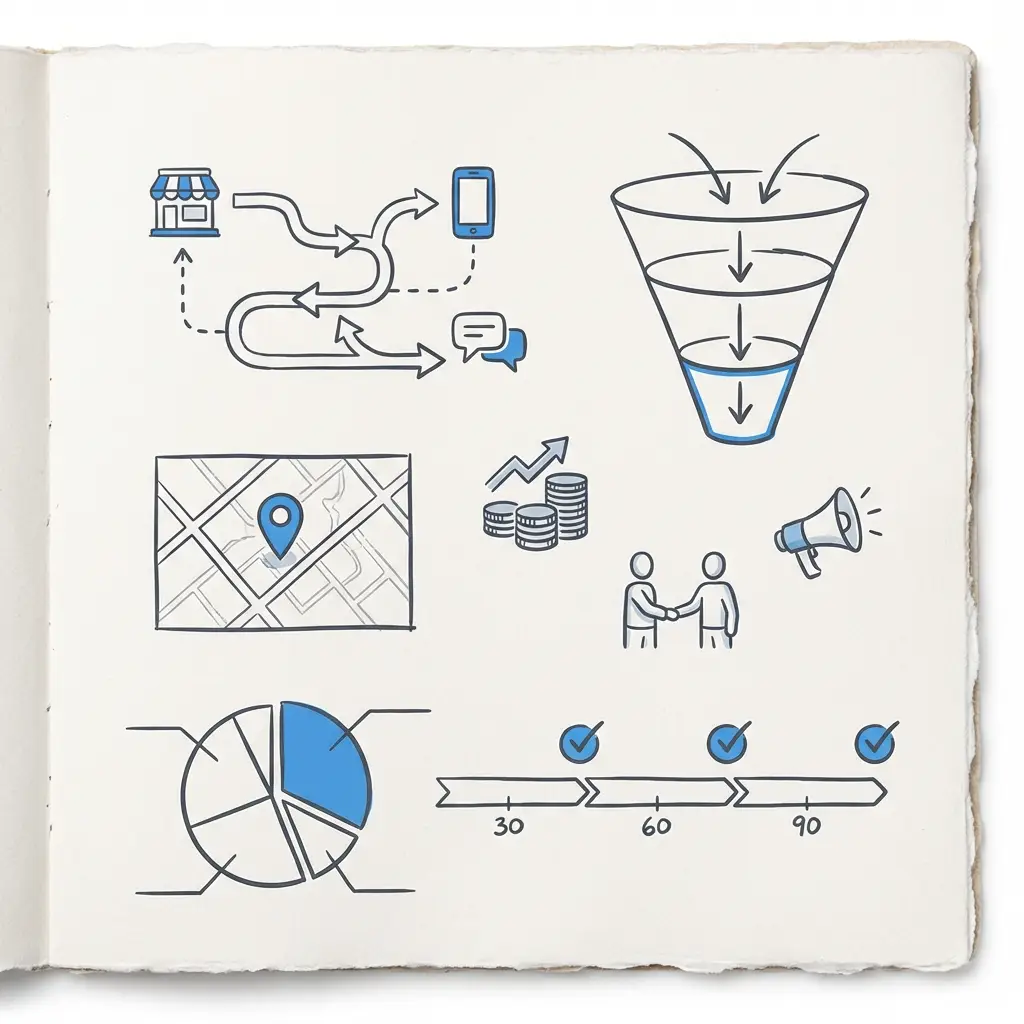
Designing a site well is a mix of craft and process. When you follow the right steps to design a website, you reduce surprises, avoid wasted effort, and build something people actually use. Below I walk through the seven major phases – discovery, research and strategy, sitemaps and wireframes, visual design, content and on-page SEO, development and testing, and launch plus maintenance – with clear deliverables, timelines and practical tips for 2024-2025. For a complementary, step-by-step perspective see Slickplan’s complete guide.
The phrase steps to design a website appears throughout because repetition helps you remember the sequence: start with problems, plan your structure, design with purpose, build for speed, and keep measuring. Read on for checklists, examples, and a short, human-friendly playbook you can use whether you’re doing this in-house or with an agency.

Quick note: if you want help turning these steps into action, a short discovery with a focused team can get you visible fast. For a simple next step, consider reaching out to a partner who specializes in fast, measurable site builds.
If you’d like a pragmatic partner to run a short discovery and translate these steps to design a website into a clear plan, contact Agency VISIBLE to request a quick project brief and timeline — a friendly, no-pressure way to get started.
The big picture: why seven steps?
The seven-phased approach keeps design decisions grounded in measurable goals. Follow the steps to design a website in order and you’ll avoid common traps: an expensive visual redesign that misses real user needs, performance problems that hurt search visibility, or a launch with broken analytics. Each phase maps to specific deliverables you can check off.
Every step matters in its own way, but discovery is the phase most worth protecting: when you skip discovery you risk designing the wrong thing. If you absolutely must compress the process, keep a short but rigorous discovery sprint — a week that produces goals, a content inventory, and a prioritized page list — and then follow the other steps without cutting content or testing.
1. Discovery and goal-setting – start with why
The first of the seven steps to design a website is discovery. This phase is deceptively simple but crucial: ask what success looks like and who will benefit. Deliverables include a short project brief, measurable goals (e.g., increase qualified leads by 20% in six months), primary audience or personas, and a content inventory.
Key questions to answer
Who are we building this for? What problem are we solving for them? How will we measure success? Write these down as measurable criteria. That clarity stops arguments later and focuses decisions around outcomes.
Practical outputs (deliverables)
– Project brief with specific goals and timelines
– Content inventory spreadsheet (URLs, status, owner, traffic, notes)
– Analytics access and a short traffic review
– Defined success metrics and acceptance criteria
Timing: 1-2 weeks for small projects. Don’t rush it – the time spent here saves weeks later.
2. Research and strategy – turn questions into a plan
The second of the seven steps to design a website is research and strategy. This is where you validate assumptions and decide on a high-level approach: technical constraints, content priorities, and user flows.
What to include
– Competitive audit: how peers structure content and patterns users expect.
– Audience interviews or quick surveys where possible.
– Technical checks: hosting, CMS choices, integrations, and performance baselines.
– Accessibility baseline and performance budget.
Strategy should produce a prioritized pages list and a crisp note on technical approach: monolithic CMS for speed and simplicity, or headless for multi-channel flexibility. For an effective process overview see Duck.Design’s process guide.
Why this matters
When you document the plan, you can say no to shiny but unnecessary features. The research stage also informs the sitemap and wireframes, ensuring the next steps to design a website are built on evidence, not assumptions.
Ready to turn a plan into a working website?
If you want to see how these stages map to real work, review our projects and case studies to find examples of fast, measurable site builds and get ideas for a short discovery you can run next.
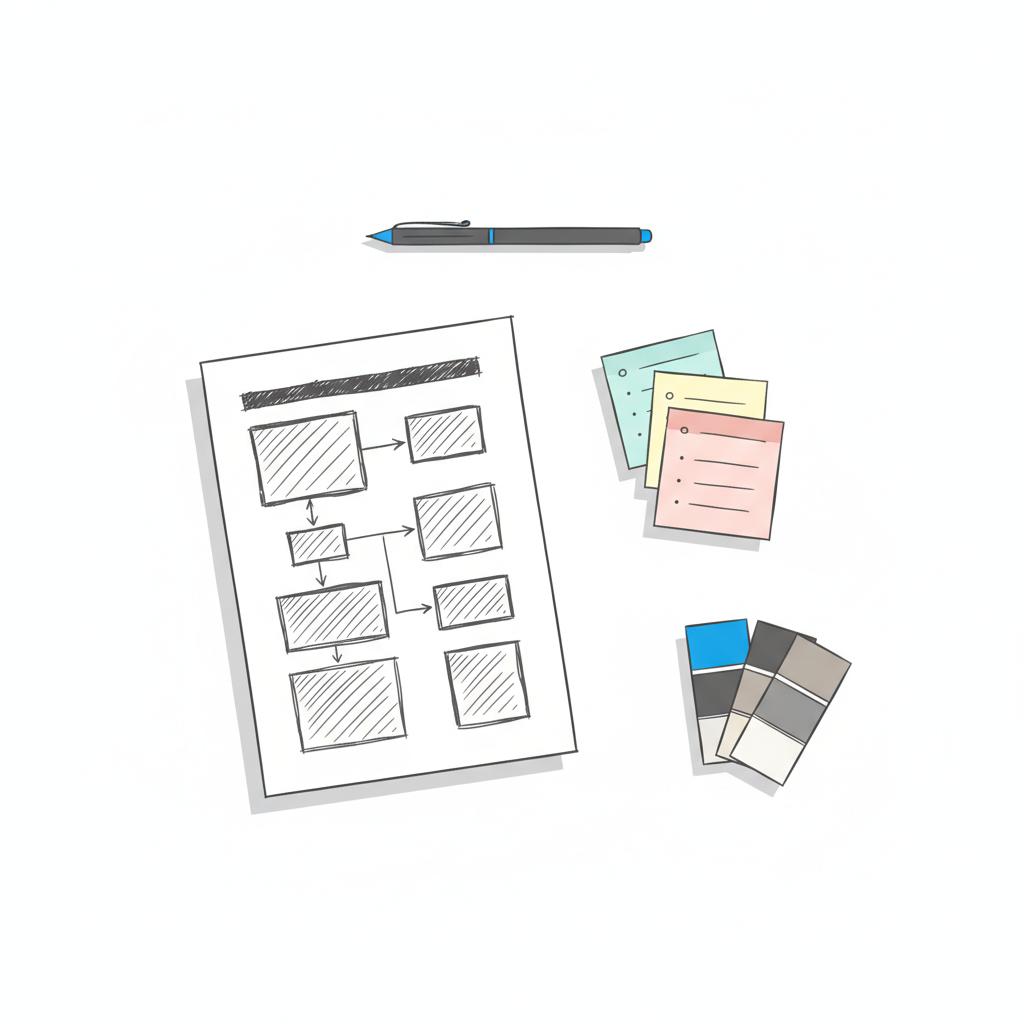
3. Sitemap and wireframes – structure first
Step three in the steps to design a website is building the sitemap and wireframes. Think of wireframes as blueprints – they show where content sits and how people move through the site. Start mobile-first.
Wireframe checklist
– Mobile-first layout for each template type (homepage, product page, article, contact).
– Clear content hierarchy with headings and primary CTAs.
– Interaction notes and primary user flows (e.g., signup, add to cart, contact).
– Clickable prototype for stakeholder review.
Interactive wireframes reduce rework. Stakeholders can click through and discover missing content or confusing flows before design work begins.
4. Visual design – give structure a voice
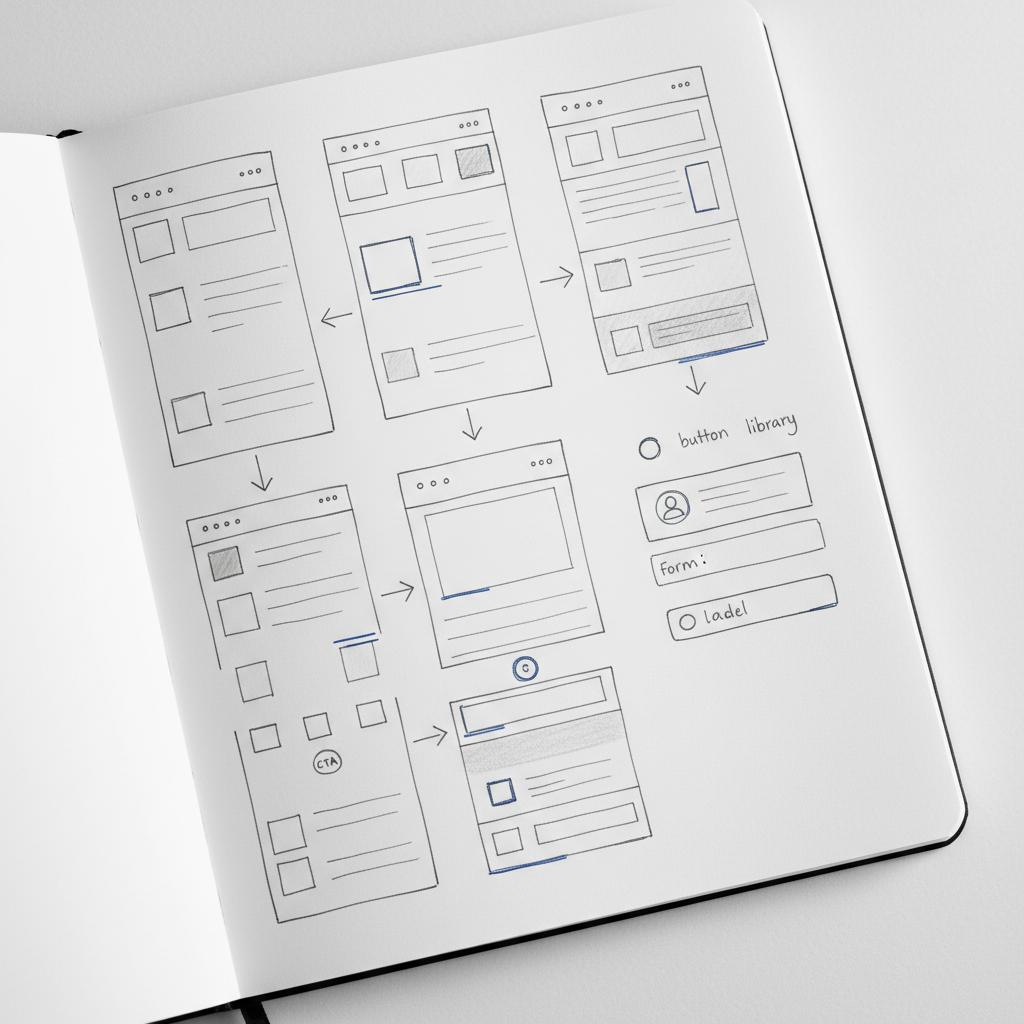
The fourth of the seven steps to design a website is visual design. Once wireframes are approved, visual design defines color, typography, imagery and motion. Build a small design system or pattern library: buttons, form elements, cards, and heading styles that will be reused across the site. A clear logo anchors the visual system and helps keep spacing and hierarchy consistent.
Design principles for 2024-2025
– Prioritize clarity and contrast (accessibility).
– Keep motion purposeful and minimal.
– Use a limited palette and scalable typography.
– Build components that work across breakpoints. See Elementor’s best practices for practical patterns to follow.
Design is the voice of the product. When you keep the system small and consistent, development becomes faster and the user experience remains coherent.
5. Content creation and on-page SEO – content remains central
The fifth step in the steps to design a website is content. Good content answers user questions and helps search engines understand your pages. This phase covers page copy, headings, meta titles and descriptions, structured data, and optimized images.
On-page SEO checklist
– Clear, descriptive page titles and meta descriptions.
– Logical heading structure (H1, H2, H3).
– Image optimization (compress, next-gen formats, descriptive alt text).
– Structured data (JSON-LD) for products, local businesses, events where relevant.
– Internal linking strategy and a canonical plan.
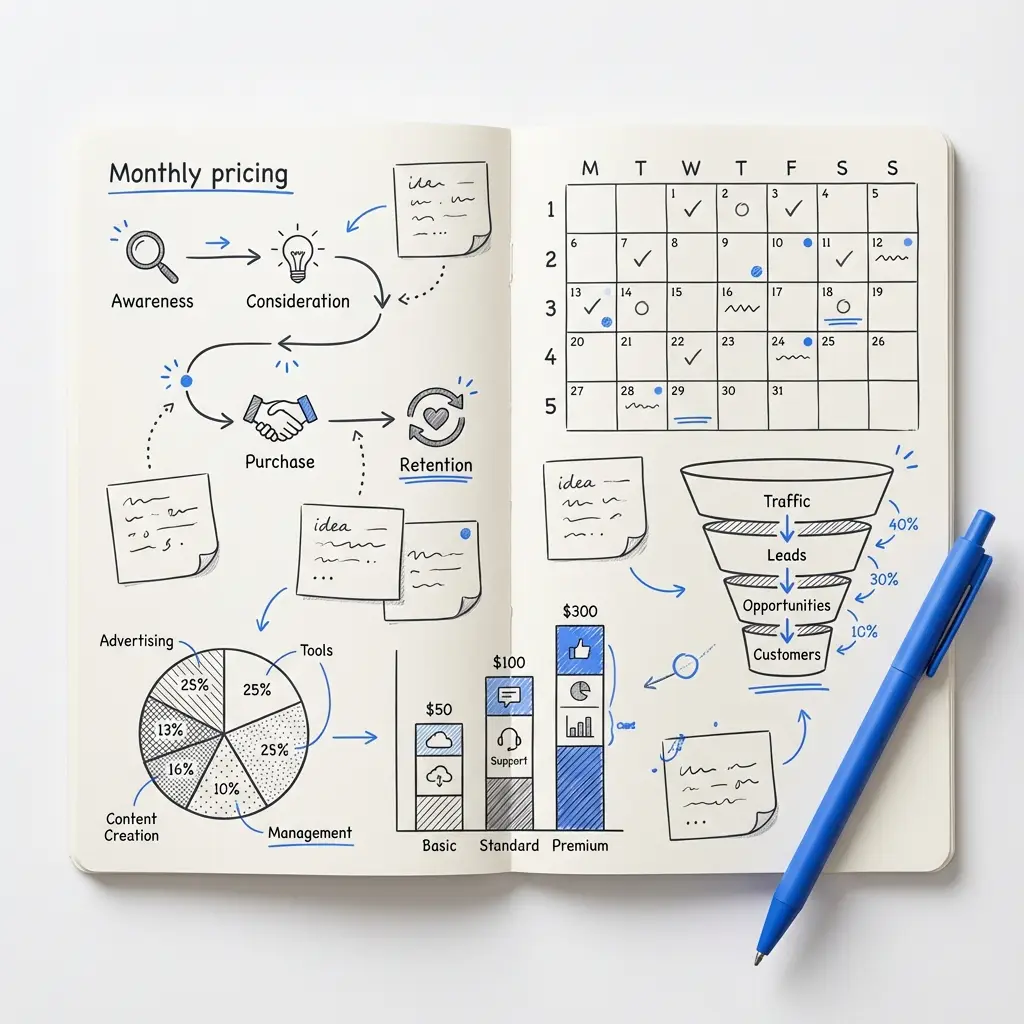
Plan for content timelines. For a 6-12 week project, allow 1-3 weeks for content delivery. Delays here are the most common reason projects slip.
6. Development and testing – build for speed and accessibility
The sixth step in the steps to design a website is development and testing. Now the design becomes code. In 2024-2025, the focus is on tangible performance numbers (Core Web Vitals) and robust accessibility.
Performance targets
– Aim for LCP under 2.5s where feasible.
– Keep INP (or acceptable interaction responsiveness) low and feel snappy.
– Target CLS below 0.1 for visual stability.
Technical tactics include responsive images, lazy loading, efficient font loading, server-side caching, and using a CDN. Testing includes unit tests, visual regression, cross-browser checks, and a staging environment for end-to-end QA.
7. Launch and ongoing maintenance – the work continues
The final step of the steps to design a website is launch and ongoing maintenance. Launch is not a moment; it’s a process. Verify redirects, confirm sitemap and robots files, ensure analytics is working, and have a rollback plan.
First 90 days post-launch checklist
– Monitor traffic and Core Web Vitals daily for the first two weeks.
– Watch error logs and server health.
– Confirm forms, payments and integrations work in production.
– Plan monthly reviews for performance and quarterly content audits.
Realistic timelines and who does what
Small to mid-sized projects commonly finish in 6-12 weeks. That range depends on content readiness and integration complexity. A common allocation looks like:
– Discovery: 1-2 weeks
– Research & strategy: 1-2 weeks
– Wireframes: 1-2 weeks
– Visual design: 2-3 weeks
– Content & on-page SEO: 1-3 weeks
– Development & testing: 2-6 weeks
– Launch & maintenance: ongoing
These are guidelines, not rigid rules. The important part is to align stakeholders on responsibilities and deadlines early.
Common pitfalls and how to avoid them
There are recurring problems in projects. Here are the ones that trip teams most often – and how to prevent them.
Skipping discovery
Why it hurts: design choices may not match business goals.
How to fix: Require a short discovery deliverable before design starts.
Late content delivery
Why it hurts: developers and designers wait, sprint schedules slip.
How to fix: Freeze content deadlines and use real copy in wireframes, not lorem ipsum.
Ignoring performance and accessibility early
Why it hurts: fixes become expensive technical debt.
How to fix: Include performance budgets and WCAG checks in the definition of done for each milestone.
Deliverables that keep you honest
Throughout the project, make sure the following exist and are shared: goals & metrics, personas, content inventory, interactive wireframes, pattern library, staging site, test plans, SEO on-page checklist, and a maintenance plan. These artifacts are the practical output of successfully following the steps to design a website.
Headless vs monolithic CMS – a clear way to decide
One common decision is whether to choose a headless, API-first CMS or a traditional monolithic CMS. The simplest rule of thumb is:
– If you need quick editing, familiar tools for non-technical users, and a fast-to-market approach, a monolithic CMS is often the better choice.
– If you require multiple front-ends or highly custom front-end experiences, a headless approach can be beneficial but usually costs more up front and requires more maintenance.
A pragmatic approach is to start with a monolithic CMS and refactor to headless later if needed. That approach favors speed and visibility while keeping future flexibility open.
Performance and accessibility: concrete targets
Set measurable goals early. Use Core Web Vitals as your performance reference: keep LCP low, INP responsive, and CLS minimal. For accessibility, aim for WCAG 2.1 AA as a baseline and include manual testing with screen readers and keyboard-only navigation.
Practical tips and examples you can use right away
– Use real content in wireframes to uncover layout problems.
– Limit third-party scripts and keep an explicit whitelist.
– Use responsive images and modern file formats (WebP/AVIF where appropriate).
– Test on real devices and low-bandwidth conditions.
– Create a content owner for each page to avoid delays.
Short case example – fast, measured launch
A local retailer needed a site redesign before the holiday season. They chose a simple CMS, focused on the category pages that converted, limited third-party scripts to payments and analytics only, and used responsive images plus a CDN. The site launched in seven weeks and the team tracked sales uplift and page load improvements. Small iterative updates over the next quarter further improved conversion – and there was no full rebuild because the early choices were intentional.
Checklist: what to have before you call a launch day
– Redirect plan for legacy URLs
– Working analytics and tag manager
– SSL and DNS checks
– Staging-to-production test results
– Backup and rollback plan
– Post-launch monitoring plan
How to measure success after launch
Success metrics depend on goals you set during discovery. Common measures include lead volume, conversion rate, average page load time, bounce rate, and search rankings for target queries. Keep measurement simple and focused on the journeys that produce revenue.
Seven summary steps you can pin to a wall
As a quick reminder, these are the seven steps to design a website in order:
1. Discovery & goal-setting
2. Research & strategy
3. Sitemap & wireframes
4. Visual design
5. Content & on-page SEO
6. Development & testing
7. Launch & ongoing maintenance
Tools and templates that accelerate the process
– Analytics: Google Analytics / lightweight alternatives
– Prototyping: Figma, Adobe XD, or low-code clickable tools
– CMS: WordPress, Webflow, or headless options like Strapi for complex needs
– Performance: Lighthouse, WebPageTest, real-user monitoring (RUM)
– Accessibility: axe, WAVE, and manual screen reader checks. Keep brand assets, including your logo and style tokens, in a shared folder so designers and developers can access them quickly.
When to hire an agency (and what to expect)
Hiring an agency makes sense when you need speed, clarity, and measurable outcomes. Expect a short discovery, a prioritized roadmap, and milestones that map to the seven steps to design a website. A good partner will be transparent about trade-offs (speed vs future flexibility) and will provide a post-launch plan to keep your site visible. Learn more about our approach at Design That Converts or explore the Agency VISIBLE homepage.
Practical templates to copy
– Project brief: 1 page with goals, audience, success metrics and timeline.
– Content inventory: spreadsheet with URL, owner, traffic, status.
– SEO checklist: page title, description, headings, alt text, structured data.
– Release checklist: redirects, analytics, backups, smoke tests.
Cost considerations and budget tips
Costs vary widely. Simple brochure sites with a standard CMS and ready content are on the lower end; e-commerce and custom integrations increase cost. To control budget, prioritize the pages and features that directly affect revenue and defer lower-value pages to a later phase.
Final advice: build with intention
Designing a website is a long-term investment. Use the seven steps to design a website to keep choices intentional, measurable and aligned to business outcomes. Small, early investments in clarity and performance pay off with fewer surprises and lower total cost of ownership.
FAQs
Will a headless CMS make my site faster?
Sometimes. Headless architectures can improve front-end control and performance, but speed depends more on asset handling, caching, and third-party scripts. For many small businesses a simple monolithic CMS with sensible caching and a CDN will be faster and cheaper to maintain.
How much time should I budget for content?
For a 6-12 week build, plan 1-3 weeks for content creation and on-page SEO. Content delays are the most common cause of project slips, so treat content deadlines as non-negotiable.
What accessibility level should I aim for?
Aiming for WCAG 2.1 AA is a pragmatic baseline. Use automated tools to catch common problems, but include manual keyboard checks and at least one screen reader pass to uncover issues that automated tools miss.
Sometimes. Headless architectures can give you more control over front-end performance, but real speed gains come from how assets are served, caching strategy, image handling, and limiting third-party scripts. For many small businesses a straightforward monolithic CMS with good caching and a CDN will be faster and less costly to maintain.
For a typical 6–12 week project, budget 1–3 weeks for content creation and on‑page SEO. Content delays are the most common cause of schedule slips; assign content owners early and use real copy in wireframes to avoid surprises.
Aim for WCAG 2.1 AA as a pragmatic baseline. Use automated tools to catch many issues but include manual keyboard navigation checks and at least one screen reader pass to find problems that tools miss.
References
- https://slickplan.com/blog/how-to-design-a-website-a-complete-guide
- https://duck.design/effective-website-design-process/
- https://elementor.com/blog/web-design-best-practices/
- https://agencyvisible.com/contact/
- https://agencyvisible.com/projects/
- https://agencyvisible.com/design-that-converts-our-approach/
- https://agencyvisible.com/